目次
Placing a Keep Out Area for the Board Outline
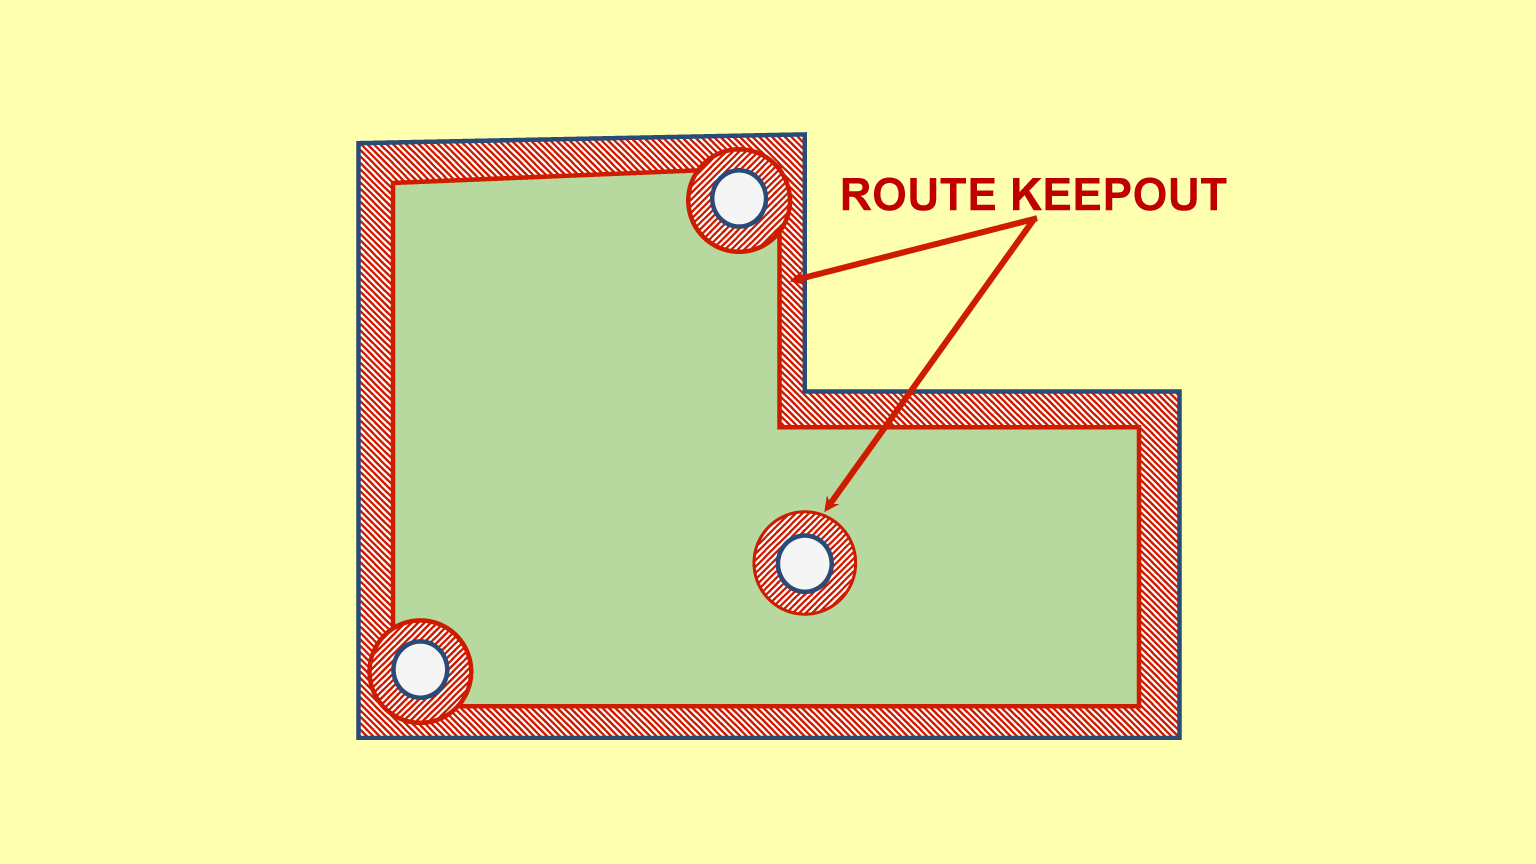
A keep out area is an object that prevents specified objects or nets from intersecting its area. It is often placed along the board outline but the more complicated the board shape, the longer it takes to place keep out areas. This section introduces easy steps to generate a keep out area for the board outline.
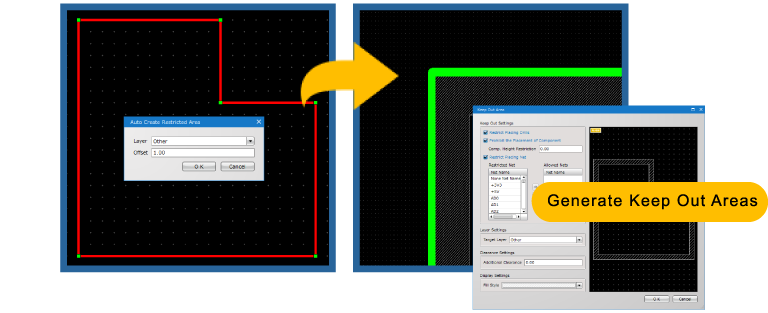
POINT
Use the Auto Create Restricted Area command.
Selecting the Entire Board Outline
Step
- Select one of the segments of the board outline.
- Right-click to select [Selection Method] >> [Spread Selecting].
You can also run the command by pressing the [Shift] and [C] keys in the keyboard.
=>The entire board outline will be selected.
Placing a Keep Out Area Along the Board Outline
Step
- After selecting the whole board outline, right-click to select the Auto Create Restricted Area command.
- In the settings dialog, choose the layer to place a keep out area on and then type the offset value.(1mm specified in the above image)
- Click [OK].
- Double-click the generated keep out area.
- The settings dialog for the keep out area will be shown. Specify objects / nets that you want to prohibit from being placed within this area.
Reference Links
Placing Keep Out Areas for Mounting Holes, Slits and Components
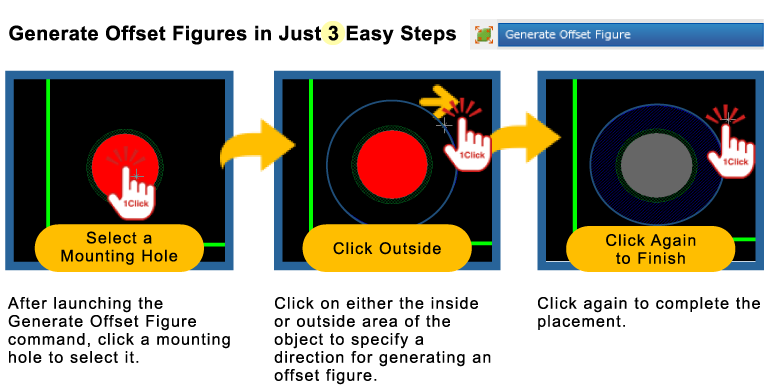
Placing a Keep Out Area for a Mounting Hole
Step
- Select [Create PCB] >> [Generate Offset Figure].
- Select a mounting hole you want to place a keep out area for.
- Click the outside area of the mounting hole. (When you want to generate an offset figure inside the selected object, click the inside area of that object.)
- Click again to complete the placement.
Design More Efficiently with Generate Offset Figure
- 6 types of objects available for placement
- Possible to choose the inside or outside of the selected object as a direction for generating an offset figure
- Possible to select the center or edge of the selected object as a base point for generating an offset figure
- Possible to specify the layer to place each object on

